
DIY Breakfast Smoothie

Hey DIYers! Breakfast is the most important meal of the day, as you all probably know, but it can be very hard to get breakfast when you're rushing out the door to go to school or work! So that's why today I am showing you how to make your own DIY Breakfast Smoothie that you can prepare beforehand, and then make in the morning in less than 5 minutes. Let's get started!

You will need:
- 1/4 cup of plain oats
- 1/2 low-fat vanilla yogurt
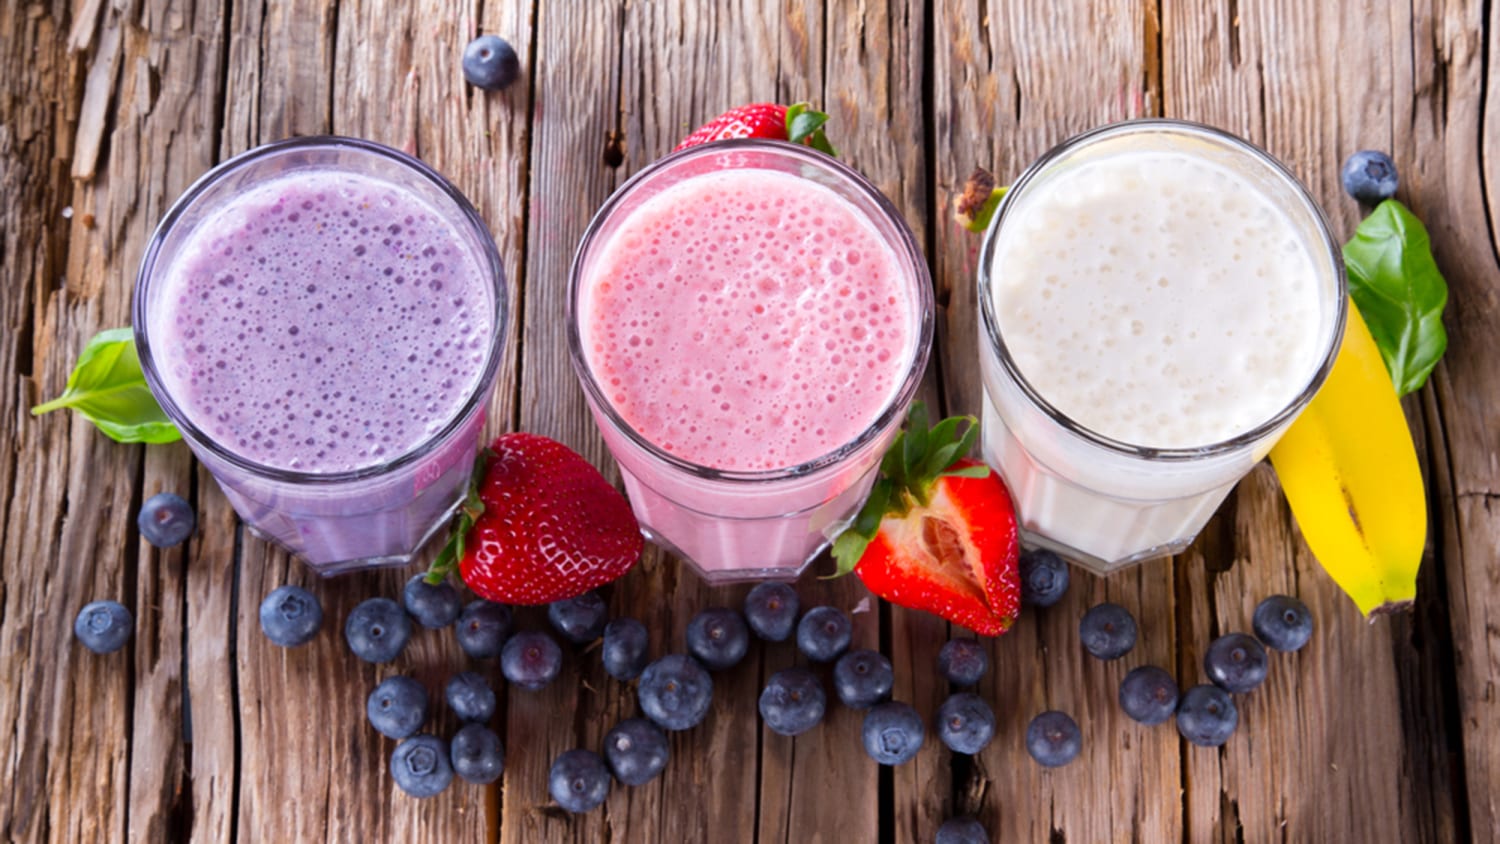
- 1/2 fruit of your choice
- One banana cut up in 1-inch slices
- 1 teaspoon of honey
- 1/2 cup of ice
- A blender
- A cup
- Plastic bags

Steps:
1. Put the 1/2 of fruit and the banana in a bag. (Do this step as many times as you want, depending on how many smoothies you want to make.)
2. Put the bag of fruit in the freezer.
3. Whenever you want to make a smoothie, empty the fruit in the bag into the freezer along with the oats, yogurt, honey, and ice.
4. Blend!
5. Pour your smoothie into a cup.
6. Now you can head out the door! :)

Image result for fruit smoothies

You're done! I hope you enjoyed this DIY tutorial for DIY Breakfast Smoothie! Stay tuned for more DIYs coming soon! -Madi from DIY With Madi

Comments

Popular posts from this blog

DIY Sim Halloween Costume

Hey DIYers! Today's DIY is perfect if you haven't figured out what to be for Halloween! I was thinking about cheap, but clever Halloween costumes that would be really really recognizable, and I came up with.... a DIY Sim Halloween Costume! Let's get started with the DIY! What you'll need: - A plain headband the color of your hair - THIS template - Scissors - Tape or Glue - Hot Glue - 3 feet of long, sturdy (can hold up a little weight without bending), thin wire Steps: 1. Print out THIS template on green paper (OR, USE MARKERS AND COLOR IT IN!) 2. Cut out each half of the sim plumbob (the diamond-y shape) on the DOTTED lines. 3. Fold on the solid lines of each half of the plumbob, and fold the tabs inward 4. Tape or glue the tabs to form each half of the plumbob. 5. Tape or blue each half of the plumbob together, to create the final plumbob. 6. Puncture a tip of the plumbob with the long, sturdy, thin wire. 7. Use the hot glue to glue the wire in place ...

DIY TOLO Proposals

Hey DIYers! It's March which means TOLO, also known as Sadie Hawkins, is happening at most high schools! TOLO is a school dance where girls ask guys/whoever they want to ask (for example, I'm asking my best friend instead of a guy!) Today's DIY will show you 5 poster ideas for you to use. Let's get started! For the gamer: This FortNite poster will give you a yes in under a second! So cute! A post shared by Prom, Hoco, Sadies, & more! 💕💍 (@the.promposals) on Mar 23, 2018 at 4:31pm PDT For the comedian: Sticky-note your date's car for a good laugh between the two of you. (Spell out TOLO instead of Homecoming though) For the foodie: Everyone loves Chicken Nuggets, and this poster's pun (lucky nugget) would be perfect when asking out your date! For the athlete: The best part about this poster is that TOLO has two O's, so you can draw your date's sport as replacements. For example, draw baseballs for the O's if he/she play...

DIY Unlimited Customizable Phone Case!

Hey DIYers! Today's DIY, I think, is one of my most favorite DIY ideas ever! It's a DIY phone case, but better yet, it can be customized... UNLIMITED TIMES! This DIY is PERFECT for people on a budget, because instead of getting multiple phone cases, you only need 1! What you'll need: - A clear phone case - Cardstock Paper - Pencil - Markers, Washi tape, glitter, stickers... Whatever you want to make your phone case look amazing! - Exacto Knife (Please get parent's permission!) Steps: 1. Using your pencil, trace the phone case, including the camera hole. 2. Use an exacto knife to cut the shape out! 3. Try to fit the paper in the case. Most likely it'll be a little too big because the outside of the case is bigger than the inside, so trim the paper accordingly to fit the inside of the phone case. 4. Once the paper fits inside the phone case, decorate it however you'd like! The only thing is that you CANNOT make the design 3D (like glitter glue that r...