
DIY Soda Combos

Hello DIYers! I love soda even though its not the healthiest thing ever :) My favorite soda is Root-Beer. What's yours? I actually tried mixing different sodas at a dinner party I went to, and it was actually good! I've decided to make a DIY out of it since maybe you DIYers will like the taste too!

Here are some delicious-tasting soda combos!

Root-Beer & Fanta: This is the best combination! Its taste is very mild but noticeable, and it looks like actual beer, though it is a MUCH safer alternative than drinking actual alcohol. :)


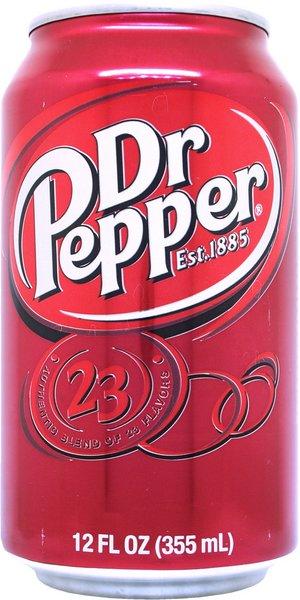
Dr. Pepper & 7Up: This drink has a very strong taste. I'm not a big fan of Dr. Pepper, but this combination is fantastic! Since 7Up is clear, the color of this combo-drink is a barely lighter than Dr. Pepper. You can also use Sierra Mist instead of 7Up since I think they taste the same.


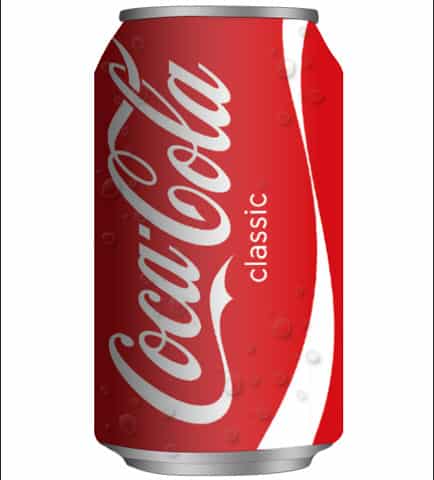
Classic Coca-Cola & Sanpellegrino Limonata: Even though Lemonade isn't a soda, this lemonade is! I have loved Sanpellegrino soda for the longest time now, so putting it in Coca-Cola was a bit daring for me. The sweet/sour lemon tastes great in the cola.


I hope you try these combos out! Thanks for reading!
~DIY With Madi

Popular posts from this blog

DIY Sim Halloween Costume

Hey DIYers! Today's DIY is perfect if you haven't figured out what to be for Halloween! I was thinking about cheap, but clever Halloween costumes that would be really really recognizable, and I came up with.... a DIY Sim Halloween Costume! Let's get started with the DIY! What you'll need: - A plain headband the color of your hair - THIS template - Scissors - Tape or Glue - Hot Glue - 3 feet of long, sturdy (can hold up a little weight without bending), thin wire Steps: 1. Print out THIS template on green paper (OR, USE MARKERS AND COLOR IT IN!) 2. Cut out each half of the sim plumbob (the diamond-y shape) on the DOTTED lines. 3. Fold on the solid lines of each half of the plumbob, and fold the tabs inward 4. Tape or glue the tabs to form each half of the plumbob. 5. Tape or blue each half of the plumbob together, to create the final plumbob. 6. Puncture a tip of the plumbob with the long, sturdy, thin wire. 7. Use the hot glue to glue the wire in place

DIY TOLO Proposals

Hey DIYers! It's March which means TOLO, also known as Sadie Hawkins, is happening at most high schools! TOLO is a school dance where girls ask guys/whoever they want to ask (for example, I'm asking my best friend instead of a guy!) Today's DIY will show you 5 poster ideas for you to use. Let's get started! For the gamer: This FortNite poster will give you a yes in under a second! So cute! A post shared by Prom, Hoco, Sadies, & more! 💕💍 (@the.promposals) on Mar 23, 2018 at 4:31pm PDT For the comedian: Sticky-note your date's car for a good laugh between the two of you. (Spell out TOLO instead of Homecoming though) For the foodie: Everyone loves Chicken Nuggets, and this poster's pun (lucky nugget) would be perfect when asking out your date! For the athlete: The best part about this poster is that TOLO has two O's, so you can draw your date's sport as replacements. For example, draw baseballs for the O's if he/she play

DIY Sea Salt Hair Spray for Beachy Waves

Hey everyone! Even though it's summer, I don't have access to a beach. It's actually quite sad because one of my favorite parts about swimming in the ocean is the effect it gives my hair- beachy waves! That's why today's DIY is perfect for people like me (without access to a beach): it's DIY Sea Salt Hair Spray that makes your hair form into beachy waves! Let's get started! You'll need: - A spray bottle - Small bowl of warm water (not boiling but warmer than room temperature) - 3 teaspoons of Sea Salt - 1/4 teaspoon coconut oil - 3 squirts of hair gel Steps: 1. Pour the salt into the bowl of warm water and stir. 2. Add in the coconut oil, and stir. 3. Add in the hair gel, and stir. 4. Carefully pour the mixture into the spray bottle. 5. Spray onto your hair for beachy waves! You're done! I hope you enjoyed this DIY tutorial for DIY DIY Sea Salt Hair Spray for Beachy Waves! Stay tuned for more DIYs coming soon! -Madi from DIY With